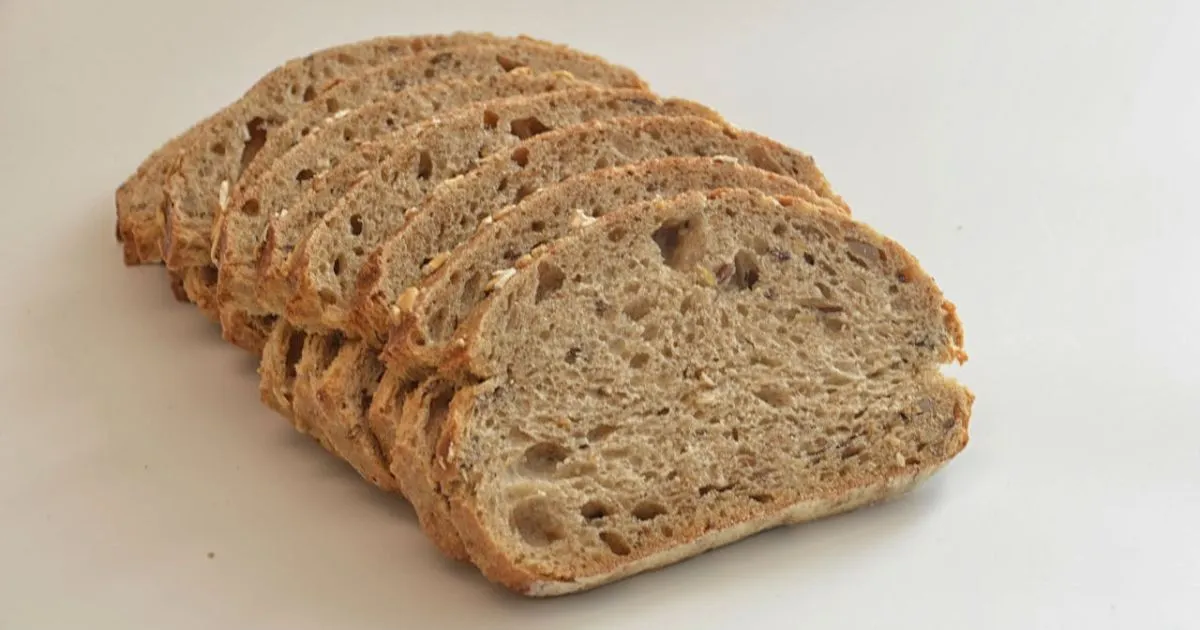
Few things compare to the simple joy of making your own bread from scratch. The warm, comforting aroma that fills your kitchen, the golden crust that crackles ever so slightly as you slice into it, and the soft, fluffy texture inside—it’s an experience that brings both satisfaction and nostalgia. If you’ve been searching for a way to make soft honey wheat bread at home, you’re in the right place. With a handful of wholesome ingredients and a little patience, you can create a loaf that’s healthier, tastier, and free from artificial preservatives.
Baking bread at home isn’t complicated, but it does require attention to detail. In this guide, you’ll learn exactly how to make a soft and flavorful honey wheat loaf, from selecting the right ingredients to baking it to perfection. Whether you’re a first-time baker or someone who’s been kneading dough for years, you’ll find helpful tips and techniques to ensure success every time.
Table of Contents
Why Choose Honey Wheat Bread?
Honey wheat bread is an excellent choice for anyone who wants a balance of nutrition and flavor. Whole wheat flour is packed with fiber and essential nutrients, while honey provides a natural sweetness that enhances the bread’s taste. This combination creates a soft, slightly sweet loaf that pairs well with butter, jam, or even savory spreads.
Not only does homemade honey wheat bread taste better than store-bought versions, but it also allows you to control the ingredients. No artificial additives, no preservatives—just pure, natural goodness in every slice.
Key Ingredients for Soft Honey Wheat Bread
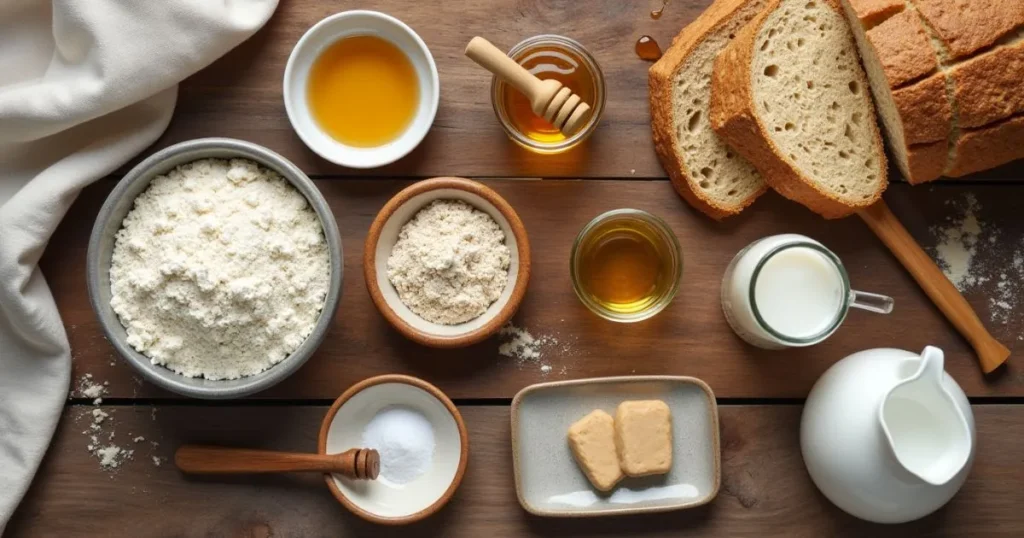
To make the perfect loaf, you’ll need a few essential ingredients, each playing a key role in the final texture and taste.
Table: Honey Wheat Bread Ingredients
| Ingredient | Quantity | Purpose |
|---|---|---|
| Whole Wheat Flour | 3 cups | Provides fiber, nutrients, and a hearty texture. |
| All-Purpose Flour | 1 cup | Lightens the dough for a softer, airier texture. |
| Active Dry Yeast | 2 teaspoons | Helps the bread rise, creating a fluffy loaf. |
| Honey | 2 tablespoons | Adds natural sweetness and helps retain moisture. |
| Olive Oil | 2 tablespoons | Contributes to a tender, soft crumb. |
| Warm Water | 1 1/2 cups | Activates the yeast and binds the ingredients together. |
| Salt | 1 teaspoon | Balances the flavors and strengthens the dough. |
| Milk (optional) | 1/4 cup | Adds extra softness and richness to the bread. |
Whole Wheat Flour vs. All-Purpose Flour
A mix of whole wheat and all-purpose flour is key to achieving the perfect balance. Whole wheat flour adds depth and nutrition, while all-purpose flour keeps the bread light and tender. Using only whole wheat flour would result in a denser loaf, so this combination ensures the best of both worlds.
The Role of Honey
Honey does more than just add a touch of sweetness—it helps lock in moisture, keeping your bread soft for longer. For the best flavor, opt for raw, organic honey rather than processed varieties.
Why Yeast is Essential
Active dry yeast is the driving force behind the bread’s rise. When properly activated, it creates air pockets that give the bread a light, fluffy texture.
Step-by-Step Guide to Making Soft Honey Wheat Bread
Step 1: Activating the Yeast
Begin by preparing your yeast. In a small bowl, combine 1 ½ cups of warm water, 2 tablespoons of honey, and 2 teaspoons of active dry yeast. Stir gently until everything is well mixed. Let the mixture rest for about 5 to 10 minutes, allowing the yeast to activate. You’ll know it’s ready when bubbles or foam start forming on the surface.
💡 Pro Tip: Ensure the water is warm but not too hot—around 110°F (43°C). Water that’s too hot can kill the yeast, while water that’s too cold won’t activate it properly.
Step 2: Mixing the Dough
Once the yeast is activated, you can begin preparing the dough. In a large mixing bowl, whisk together 3 cups of whole wheat flour, 1 cup of all-purpose flour, and 1 teaspoon of salt. Make a small well in the center and pour in the activated yeast mixture along with 2 tablespoons of olive oil.
Use a spoon or your hands to mix everything together until a rough dough forms. If the mixture is too sticky, sprinkle in a little more flour. If the mixture seems too dry, simply add a small amount of warm water to adjust the consistency.
Step 3: Kneading the Dough
As the dough starts to take shape, the next crucial step is kneading. This process develops the gluten, which gives bread its structure and chewiness.
Place the dough onto a lightly floured surface and work it with your hands for about 8-10 minutes. Use the heel of your hand to push the dough away from you, fold it over, then repeat. Repeat this process until the dough develops a smooth, elastic texture.
💡 Pro Tip: If kneading by hand feels like too much effort, a stand mixer with a dough hook attachment can do the job in about 5 minutes.
Step 4: First Rise (Proofing)
Once you’ve finished kneading, place the dough into a greased bowl and cover it with a clean kitchen towel. Allow it to sit in a warm, draft-free spot for 1 to 2 hours, or until it has doubled in size.
If your kitchen is cold, you can place the bowl in an oven with the light on to create a slightly warmer environment.
Step 5: Shaping the Dough
After the first rise, gently press down on the dough to release any excess air. Transfer it to a lightly floured surface, then shape it into a loaf. Roll the dough tightly and tuck the edges underneath before placing it into a greased loaf pan.
Cover the pan with a kitchen towel again and let it rest for another 30-45 minutes. This second rise ensures that your bread will have the perfect fluffy texture.
Step 6: Baking the Bread
Preheat your oven to 350°F (175°C). Once the dough has risen for the second time, place it in the oven and bake for 30-35 minutes, or until the top turns golden brown and the bread sounds hollow when tapped on the bottom.
💡 Pro Tip: If you notice the crust browning too quickly, loosely cover the top with aluminum foil to prevent burning.
Step 7: Cooling and Slicing
After baking, take the loaf out of the oven and let it rest in the pan for 10 minutes. Afterward, move it to a wire rack and allow it to cool completely. It’s important to let the bread cool before slicing to ensure the texture remains soft and fluffy.
Storage and Freezing Tips
When stored in an airtight container at room temperature, homemade honey wheat bread maintains its freshness for up to four days. For longer storage, you can freeze it.
How to Freeze Honey Wheat Bread:
- Secure the loaf by first wrapping it in plastic wrap, then covering it with aluminum foil.
- Place it in a freezer-safe bag.
- Stored this way, it will stay fresh for as long as three months.
- To serve, let the bread thaw at room temperature and warm it slightly in the oven for a fresh-baked taste.
Frequently Asked Questions (FAQ)
Can I Use Only Whole Wheat Flour?
Yes, you can use 100% whole wheat flour for this recipe, but the bread will be denser. If you prefer a lighter loaf, consider blending whole wheat flour with all-purpose flour for the best texture.
How Can I Make My Bread Extra Soft?
The key to soft bread is kneading it properly and allowing for enough rise time. You can also add a little milk or butter to the dough to help create an even softer texture.
Can I Freeze Honey Wheat Bread?
Yes, homemade honey wheat bread freezes beautifully. Wrap it tightly in plastic wrap and foil before freezing, and thaw it at room temperature when you’re ready to enjoy it.
Conclusion
Baking your own honey wheat bread is more than just a recipe—it’s an experience that brings warmth, nourishment, and satisfaction. With the right ingredients and techniques, you can create a loaf that’s soft, flavorful, and healthier than anything you’d find at the store.
Now that you have all the steps, why not give it a try? Gather your ingredients, follow this guide, and enjoy the delicious taste of homemade honey wheat bread. Your home (and your taste buds) will be grateful!
📌 Call to Action: Ready to start baking? With all these steps laid out, why not put them into action and bake your own loaf? Give this recipe a try and let us know how it turns out for you!
Let us know how your bread turned out in the comments or on social media. Happy baking! 🎉